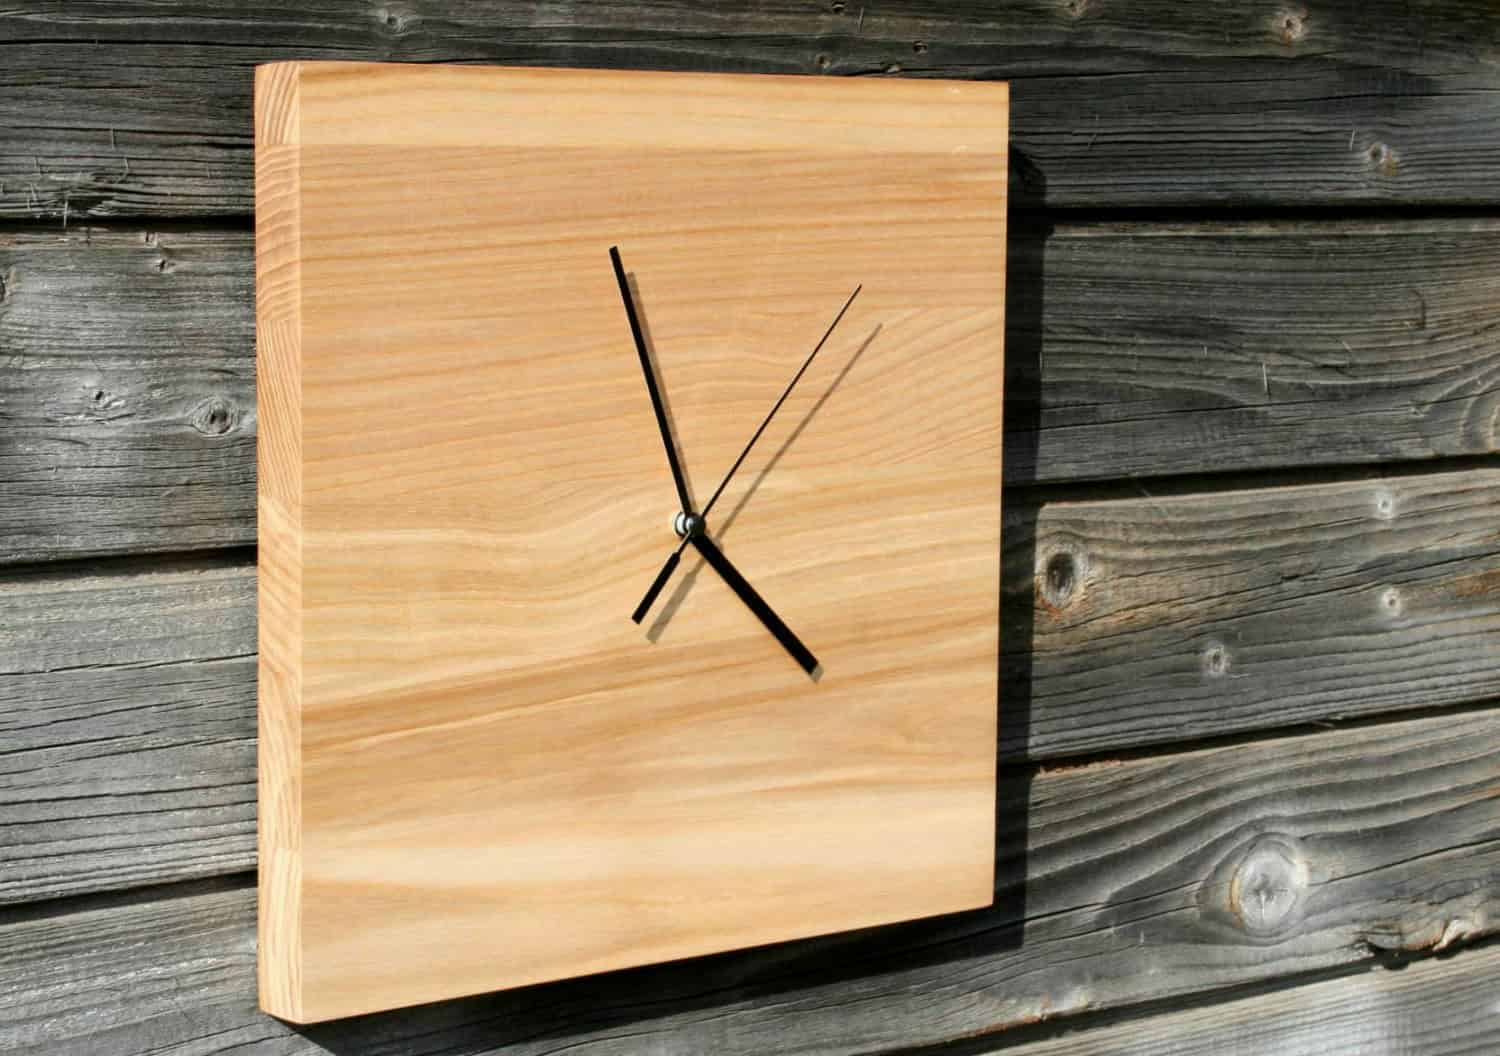
DIY Wooden Clock: Build a Rustic Timepiece
Hey there, fellow crafters! Are you looking for a unique and personal way to add a touch of rustic charm to your home? Well, you've come to the right place! Let's dive into the exciting world of building your own wooden clock.Why Build a Wooden Clock?
Besides looking absolutely stunning, a DIY wooden clock is a great way to showcase your creativity and woodworking skills. It's also a fantastic project for beginners, as it doesn't require super advanced skills. Plus, imagine the satisfaction of gazing at your very own, handmade timepiece!
Gathering Your Supplies
Before we get our hands dirty, let's gather all the necessary tools and materials. You'll need:
Wood
- A piece of plywood or reclaimed wood for the clock face (around 12 inches in diameter is a good starting point)
- A smaller piece of wood for the clock hands (you can use dowels or even thin branches)
- Optional: A small piece of wood for the clock mechanism housing (if you want a more enclosed look)
Hardware
- Clock movement (quartz movement is usually the most affordable and reliable)
- Clock hands (hour, minute, and possibly a second hand)
- Screws (to attach the clock hands and mechanism)
- Sandpaper (for smoothing the wood)
- Wood glue (for securing the clock hands to the clock face)
- Clock hanger (to hang the clock on the wall)
Tools
- Saw (to cut the wood to size)
- Drill (to make holes for the clock hands and mechanism)
- Screwdriver
- Measuring tape
- Pencil
- Optional: Compass, router, or other woodworking tools for more intricate designs
Creating Your Clock Face
Alright, let's start shaping the heart of our clock. Grab your wood and, using the saw, cut it into a circle. You can use a compass for a perfectly round shape, or let your creativity take over with a more organic design. A rustic aesthetic allows for some imperfection â€" embrace it!
Once you have your circle, grab that sandpaper and smooth out any rough edges. You can even add some character by lightly sanding down the surface to create a distressed look.
Next, it's time for the clock numbers! You can either use pre-made clock numbers, a stencil, or even create your own with a little paint and freehand lettering. Use a pencil to mark the positions of the numbers before applying them.
Now, let's get that clock mechanism ready. Use the drill to make a small hole in the center of your clock face. The hole needs to be large enough for the clock movement's spindle.
Assembling the Clock Hands
Time to bring those clock hands to life! Using a pencil, mark the center point of each hand. With a drill, make a small pilot hole at the marked center. Next, secure the hands to the clock movement using the appropriate screws provided. You can use a small amount of wood glue on the hands to ensure they stay securely in place.
Now, here's a tip: If you want a truly unique look, try experimenting with different types of wood for your clock hands. A smooth, polished piece of wood for the hour hand and a rough, rustic branch for the minute hand can create a beautiful contrast!
Installing the Clock Mechanism
The moment of truth has arrived â€" it's time to install that clock movement! Carefully insert the clock movement's spindle through the hole in the clock face. Attach the movement to the back of the clock face using the provided screws.
Once the clock mechanism is secured, it's time to test if it's working! Set the time, insert the battery (if needed), and see if the clock hands are moving smoothly.
Finishing Touches
Time to make your clock shine! You can paint, stain, or even use a clear sealant to protect the wood. You can even add a little bit of distressing to enhance the rustic look. Get creative with your design and let your personality shine through!
Don't forget to add a clock hanger to the back of your clock face. This will allow you to hang your beautiful timepiece on the wall.
Enjoy Your Handmade Clock
Congratulations! You've just crafted your very own stunning rustic clock. Take a moment to admire your handiwork and enjoy the satisfaction of knowing you made something beautiful with your own two hands.
You can display your clock anywhere in your home, from the living room to the kitchen, and it'll surely become a conversation starter. And remember, the possibilities are endless! Let your creativity run wild and create a clock that reflects your unique style.
Happy crafting!


0 comments:
Post a Comment